
Design from Intent
This guide walks you through creating a complete application blueprint—from defining high-level goals to generating system requirements and UI concepts—using Think4ever.
 Click to enlarge
Step 1: Initiate System Design#
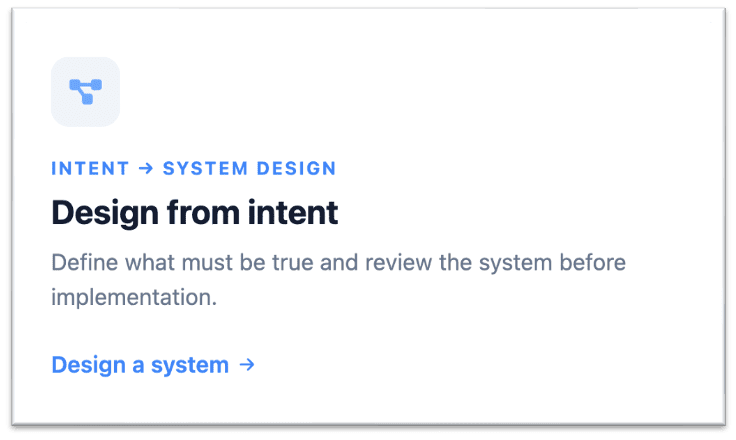
- From the Think4ever dashboard/home page, click on Create a New Project button.
- Click on the Design from Intent - button to start creating your app from scratch.
Step 2: Define the Application Objective#
 Click to enlarge
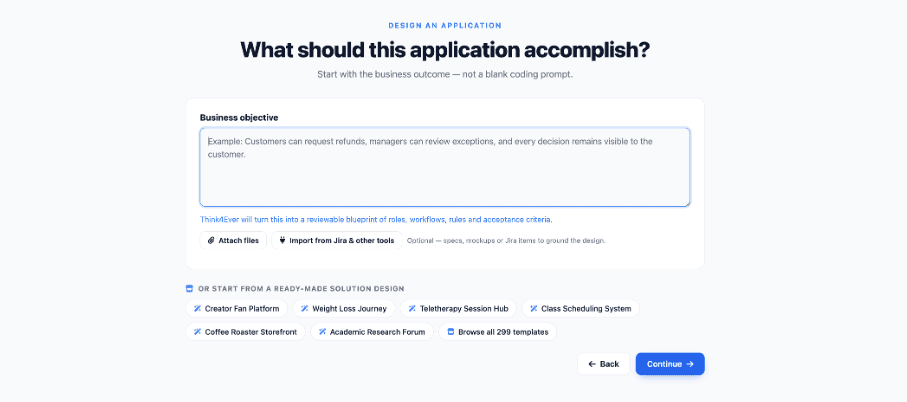
- On the What should this application accomplish? screen, enter your main Business objective in the text area.
- Example: "Customers can request refunds, managers can review exceptions, and every decision remains visible to the customer."
- (Optional) Click Attach files or Import from Jira & other tools to provide context such as specs or mockups.
- (Alternative) Select a pre-made template under OR START FROM A READY-MADE SOLUTION DESIGN (e.g., Creator Fan Platform , Class Scheduling System ).
- Click Continue .
Step 3: Answer Concept Key Questions#
 Click to enlarge
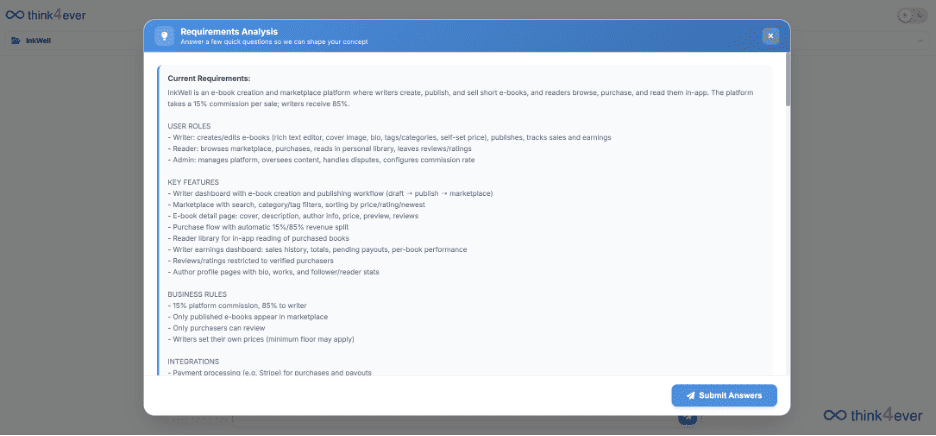
A modal window titled Key Questions will prompt you to shape the initial concept:
- Select target user roles (e.g., Writers who create & sell , Readers who browse & buy , or Both ).
- Check allowable features and content items (e.g., Cover image , Tags/categories , Pricing ).
- Choose platform configuration rules (e.g., platform cut percentage).
- Click Submit .
Step 4: Requirements Analysis & Questionnaire#
 Click to enlarge
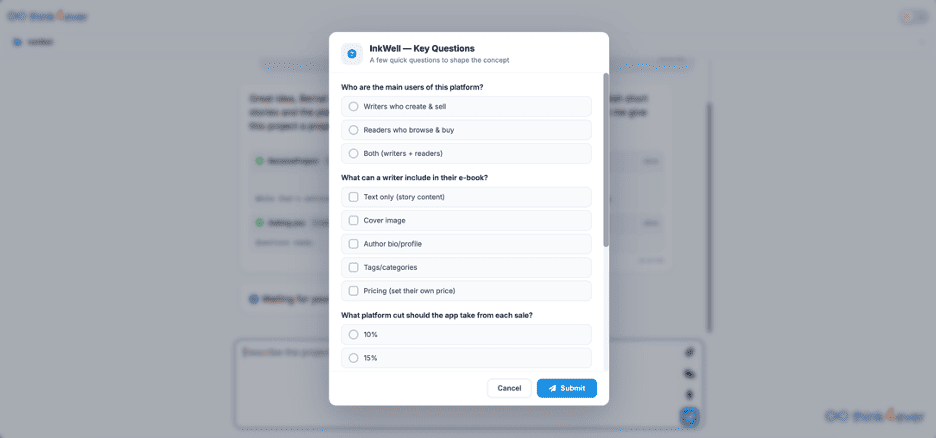
- Think4ever will generate a Requirements Analysis summary covering:
- Current Requirements Overview
- User Roles
- Key Features & Business Rules
- Integrations
- Work through the follow-up clarification questions. For multiple-choice or edge-case questions (e.g., handling post-publishing updates), you can:
- Select a specific rule option.
- Select Let AI decide to let the system determine the standard approach.
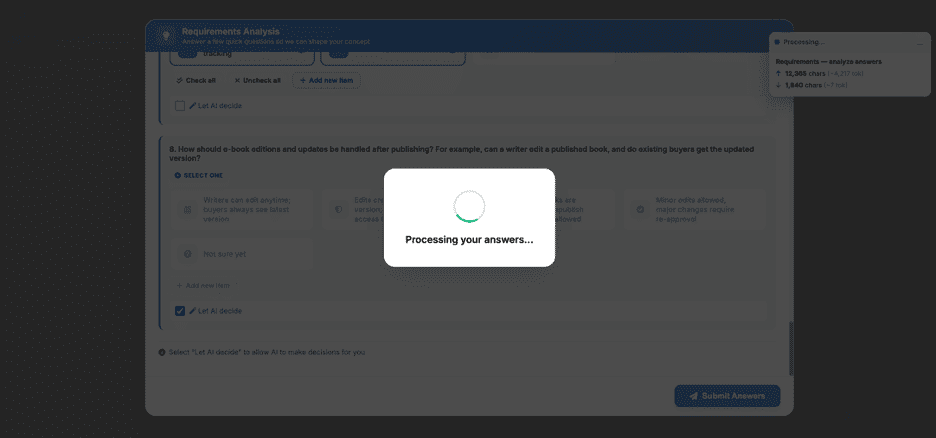
- Click Submit Answers . The platform will process your input in real time.
 Click to enlarge
Step 5: Review & Approve Requirements#
 Click to enlarge
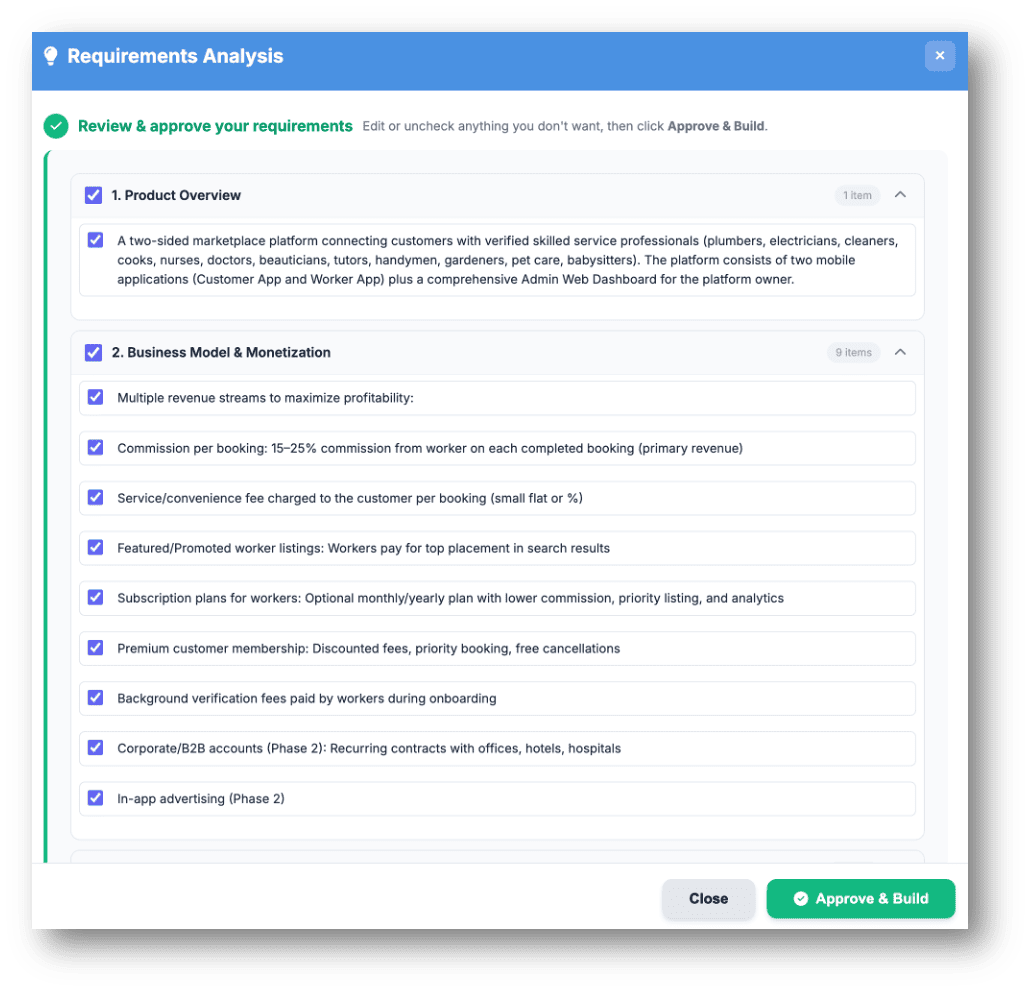
- Review the generated structured requirements under Review & approve your requirements .
- Toggle checkboxes to include or exclude specific Overview , Goals , and system behaviors.
- Once satisfied, click Approve & Build .
Step 6: Automated Concept Build#
 Click to enlarge
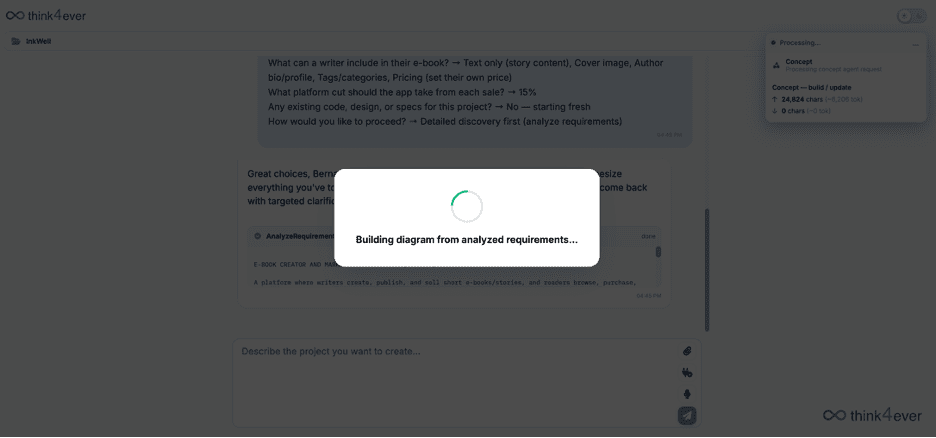
- The platform processes all requirements and generates systemic diagrams, concept blocks, and logic flows automatically.
- Wait for the processing pop-up ("Building diagram from analyzed requirements..." ) to finish.
Step 7: Explore the Concept Blueprint & Next Steps#
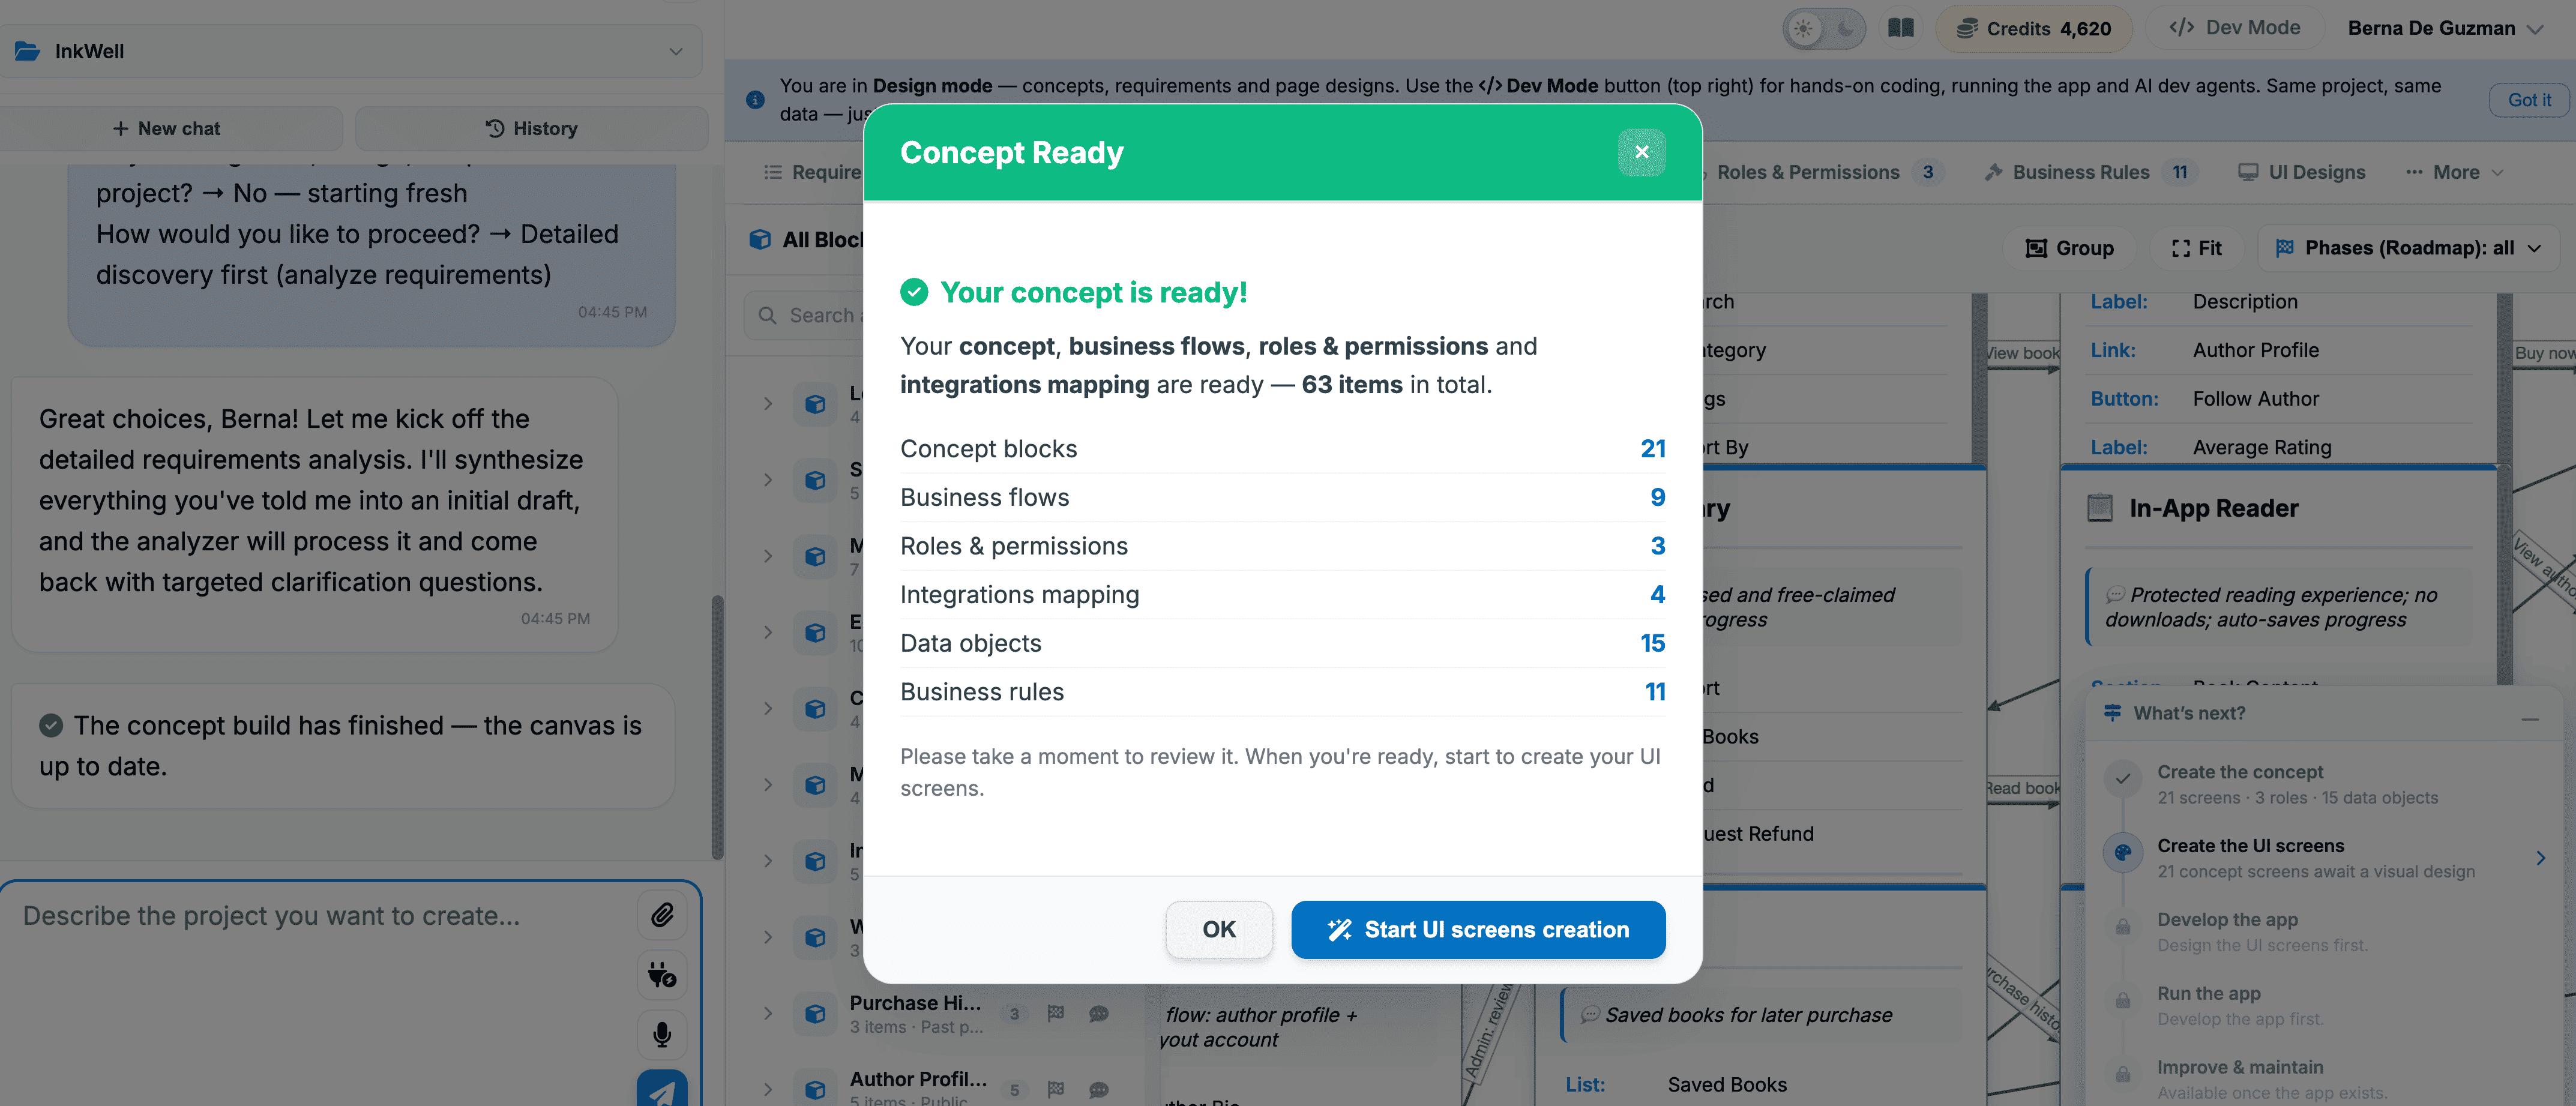
- Upon completion, a Concept Ready modal will display a summary of generated assets (e.g., Concept blocks , Business flows , Roles & permissions , Integrations mapping , Data objects , Business rules ).
- Click Start UI screens creation or close the dialog.
- You can now explore the visual canvas, review roles/permissions, check data objects, or toggle into Dev Mode to begin UI creation and hands-on coding.
 Click to enlarge